
MARMOT & WOODCHUCK RESCUE · STAGE 7

Stage 7 — Outdoor Burrow & Pre-Release Conditioning

Move the juvenile into a secure outdoor enclosure that supports real digging, natural weather, local forage, predator awareness and minimal human contact.

AT A GLANCEDo these things before moving on
OUTDOOR ACCLIMATIONUse secure outdoor conditioning appropriate to the species and season

Use secure outdoor conditioning appropriate to the species and season.

SHELTERProvide natural cover, nest/burrow space and weather protection

Provide natural cover, nest/burrow space and weather protection.

SKILLSThe animal should forage, hide, move and avoid people normally

The animal should forage, hide, move and avoid people normally.

VISUAL GUIDE

See the important points for this stage

Olympic Marmot
OUTDOOR ACCLIMATIONOlympic MarmotUse secure outdoor conditioning appropriate to the species and season.© Radd Icenoggle, some rights reserved (CC BY-NC) · CC-BY-NC · VIEW SOURCE ↗
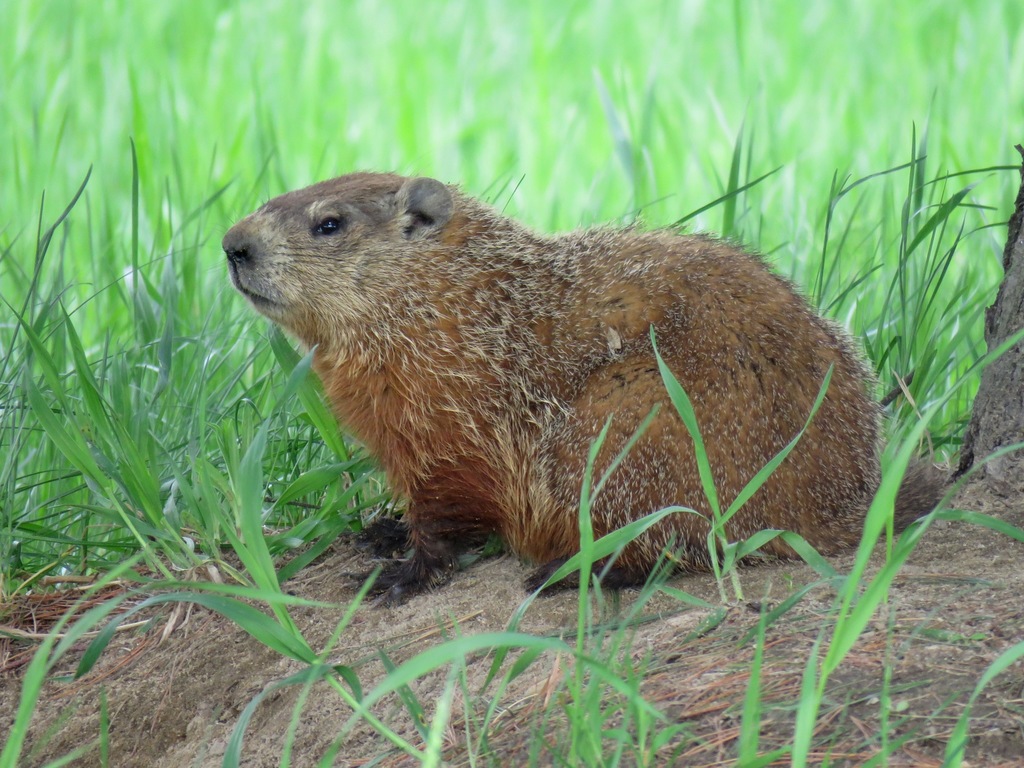
Woodchuck / Groundhog
SHELTERWoodchuck / GroundhogProvide natural cover, nest/burrow space and weather protection.© Mike Leveille, some rights reserved (CC BY-NC) · CC-BY-NC · VIEW SOURCE ↗
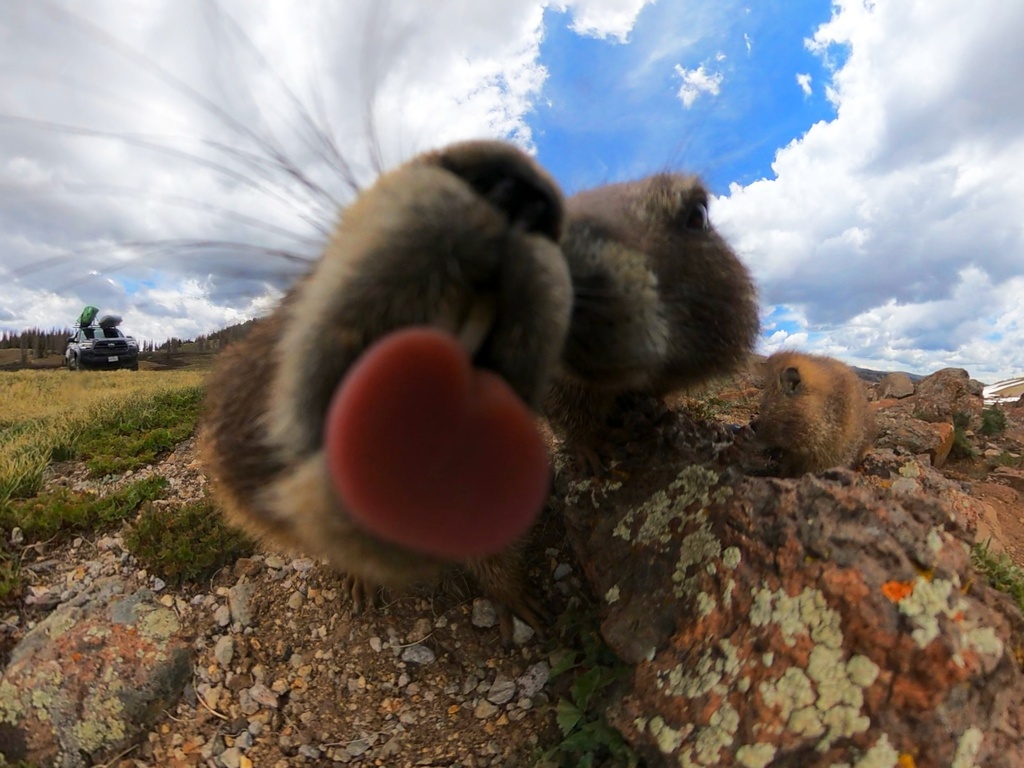
Yellow-bellied Marmot
SKILLSYellow-bellied MarmotThe animal should forage, hide, move and avoid people normally.© Nick Ellis, some rights reserved (CC BY-NC) · CC-BY-NC · VIEW SOURCE ↗
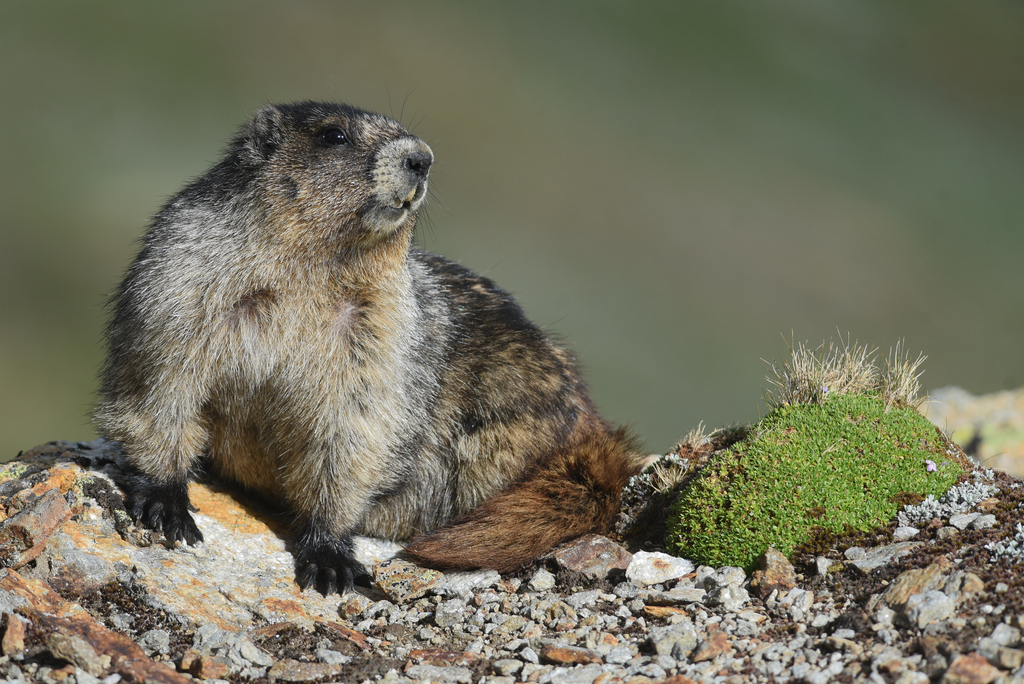
Hoary Marmot
PREDATOR SAFETYHoary MarmotConditioning must protect the animal from pets and wild predators while skills develop.no rights reserved · CC0 · VIEW SOURCE ↗
THE OUTDOOR ENCLOSURE IS PART OF REHABILITATION, NOT JUST A BIGGER CAGE

A woodchuck-specific rehabilitation reference moves juveniles outdoors around seven to eight weeks and recommends about four weeks of outdoor conditioning before release.

1. Build for an animal that digs, chews and climbs

A published woodchuck setup uses an enclosure roughly 8 ft × 4 ft made from 1-inch welded wire mesh, including an escape-proof bottom, with a roughly 2 ft × 2 ft floor-level nesting box. Treat those as practical minimum-style reference dimensions, not a reason to make the habitat bare.

  • Use heavy secure wire, locking doors and a roof.
  • Protect the perimeter and floor against digging escape; if wire is used below, cover it deeply enough that the animal is not living directly on wire.
  • Include a large deep soil/sand dig area or contained substrate zone where a tunnel can actually be started.
  • Add a dark nest box, logs, rocks, brush, roots and visual barriers.
  • Protect from raccoons, dogs, coyotes and other animals that can reach through wire or terrorize the occupant.
  • Provide shade, drainage and weather shelter while still allowing normal outdoor temperature/light cycles.

2. Condition the behaviors that release depends on

DIG

Make a safe tunnel

Repeated digging, soil moving and retreating below cover should become routine.

FORAGE

Eat local vegetation

Most food should arrive as natural forage spread through the enclosure, not hand-delivered treats.

RETREAT

Choose cover over people

The animal should disappear into shelter when a person approaches rather than coming to the front for attention.

3. Acclimate at or near the release property when possible

An enclosure placed on the future release property lets the animal learn local smells, weather, vegetation and predator activity while still protected. It also makes a soft-release opening practical. Confirm landowner permission and legal release requirements before moving the animal there.

4. Do not release just because the calendar says 13 weeks

Age is only one gate. Release also requires healed health problems, normal dentition, strong body condition, natural wariness, digging/foraging ability, safe habitat and enough season remaining to establish a burrow and prepare for winter.

Sources

Woodchuck-specific measurements are kept separate from broader marmot guidance because age, social structure, climate and release timing vary across Marmota species.